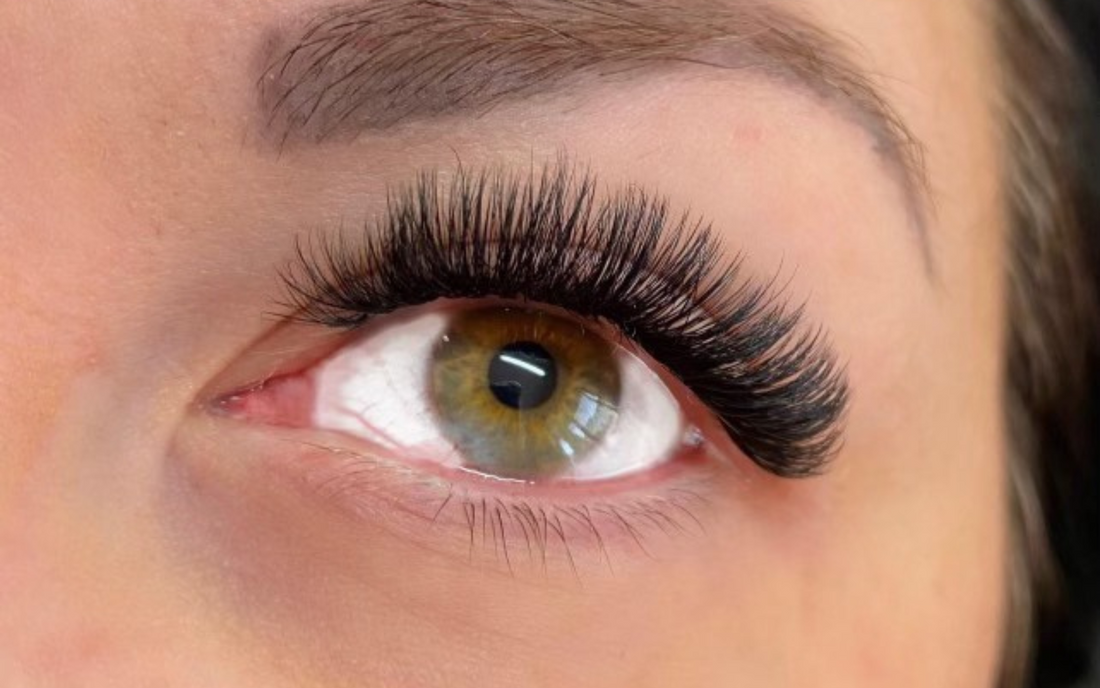
We are not just doing extensions, we make people look and feel beautiful. We are not builders - we are architects of the face!
It's so important to keep this in mind when we are styling our clients. While it can be easy to want to stick with the trends, not everyone will look great with a cat eye, doll eye, wet lash look, or mega volume!
Here are the 3 main styling mistakes I see Lash Artists make:
- Using “Cat eye” on the clients whose lashes are growing downwards at the outer corners. It drags the eye down and makes them feel sad.
- Using a Doll eye style and lashes which are too long/curly on the clients who have rounded or bulbous eyes - it makes eyes look even more rounded and gives them “surprised” look.
- Using extensions which are too full and too dark for clients with small eyes which can makes their eyes look heavy.
To avoid making mistakes with styling I always recommend that my students follow a few simple rules:
- Always make sure you have a good consultation with the client. Take a picture of your client’s eyes by sitting right opposite them - your eye should be on the same level. Use this picture to help you style when they are laying down (which can distort the face)
- Clearly understand which eye shape your client has and if their lashes grow upwards or downwards.
- When deciding on the styling and length of extensions keeping in mind the effect it will give to the client’s eyes and face - ensure it will not make their eyes look heavy, sad, surprised etc.
- When deciding on the density of the set - think about if your client will feel confident and comfortable wearing these lashes. Remember sometimes less is more, and some clients will prefer a lighter set rather than a full, heavy set. If this is the case, you can apply lashes to the top and bottom layer of lashes and leave the middle layer bare.
- Always map the lashes - write the lengths/curls you are using on the eyepatches, then make sure you copy the same map into customer’s record card.
- After the treatment is done - ask client if you can take a photo of her full face - this photo can be used for further analysis (and marketing as long as you have their Photo Release Form). Make sure you take a photo from the same distance as your before photo and zoom if needed. Taking close up picture will create the appearance of wide set of eyes and incorrect face proportions and you won’t be able to use it for revision of your styling.
- Look at the photo and consider what could be done better in order to improve the look. Don’t worry if you are not happy with the look you created - it might take a few appointments to come up with the best style for the client.
If you are struggling to find the best shape for this client - feel free to drop us an Insta message at @mybrandlashes and we will be very happy to help to choose the right look for your client!
Our Mapping Master Tutorial will walk you through examples of different eye types and show recommended styling. From different eye shapes to correctional lashing, this lash mapping walkthrough will help guide you to becoming a mapping master!
